Floating Shelves
Here’s how we created the floating shelves in our living room for $100. We kind of winged it as we went along to make them fit right so I apologize that these instructions are not very specific. Hopefully you can get enough info to figure out how to make your own.
Like most of our projects, we used plywood (3 sheets of 4x8) and had it cut at Home Depot into 12” strips. Because the sheets of wood only come in 8’ lengths and our wall is 10’ long we had to use 1 strip and a bit to make each shelf.

We used 2x4 stud (5 pieces I think) to make the base and structural part of the shelves.
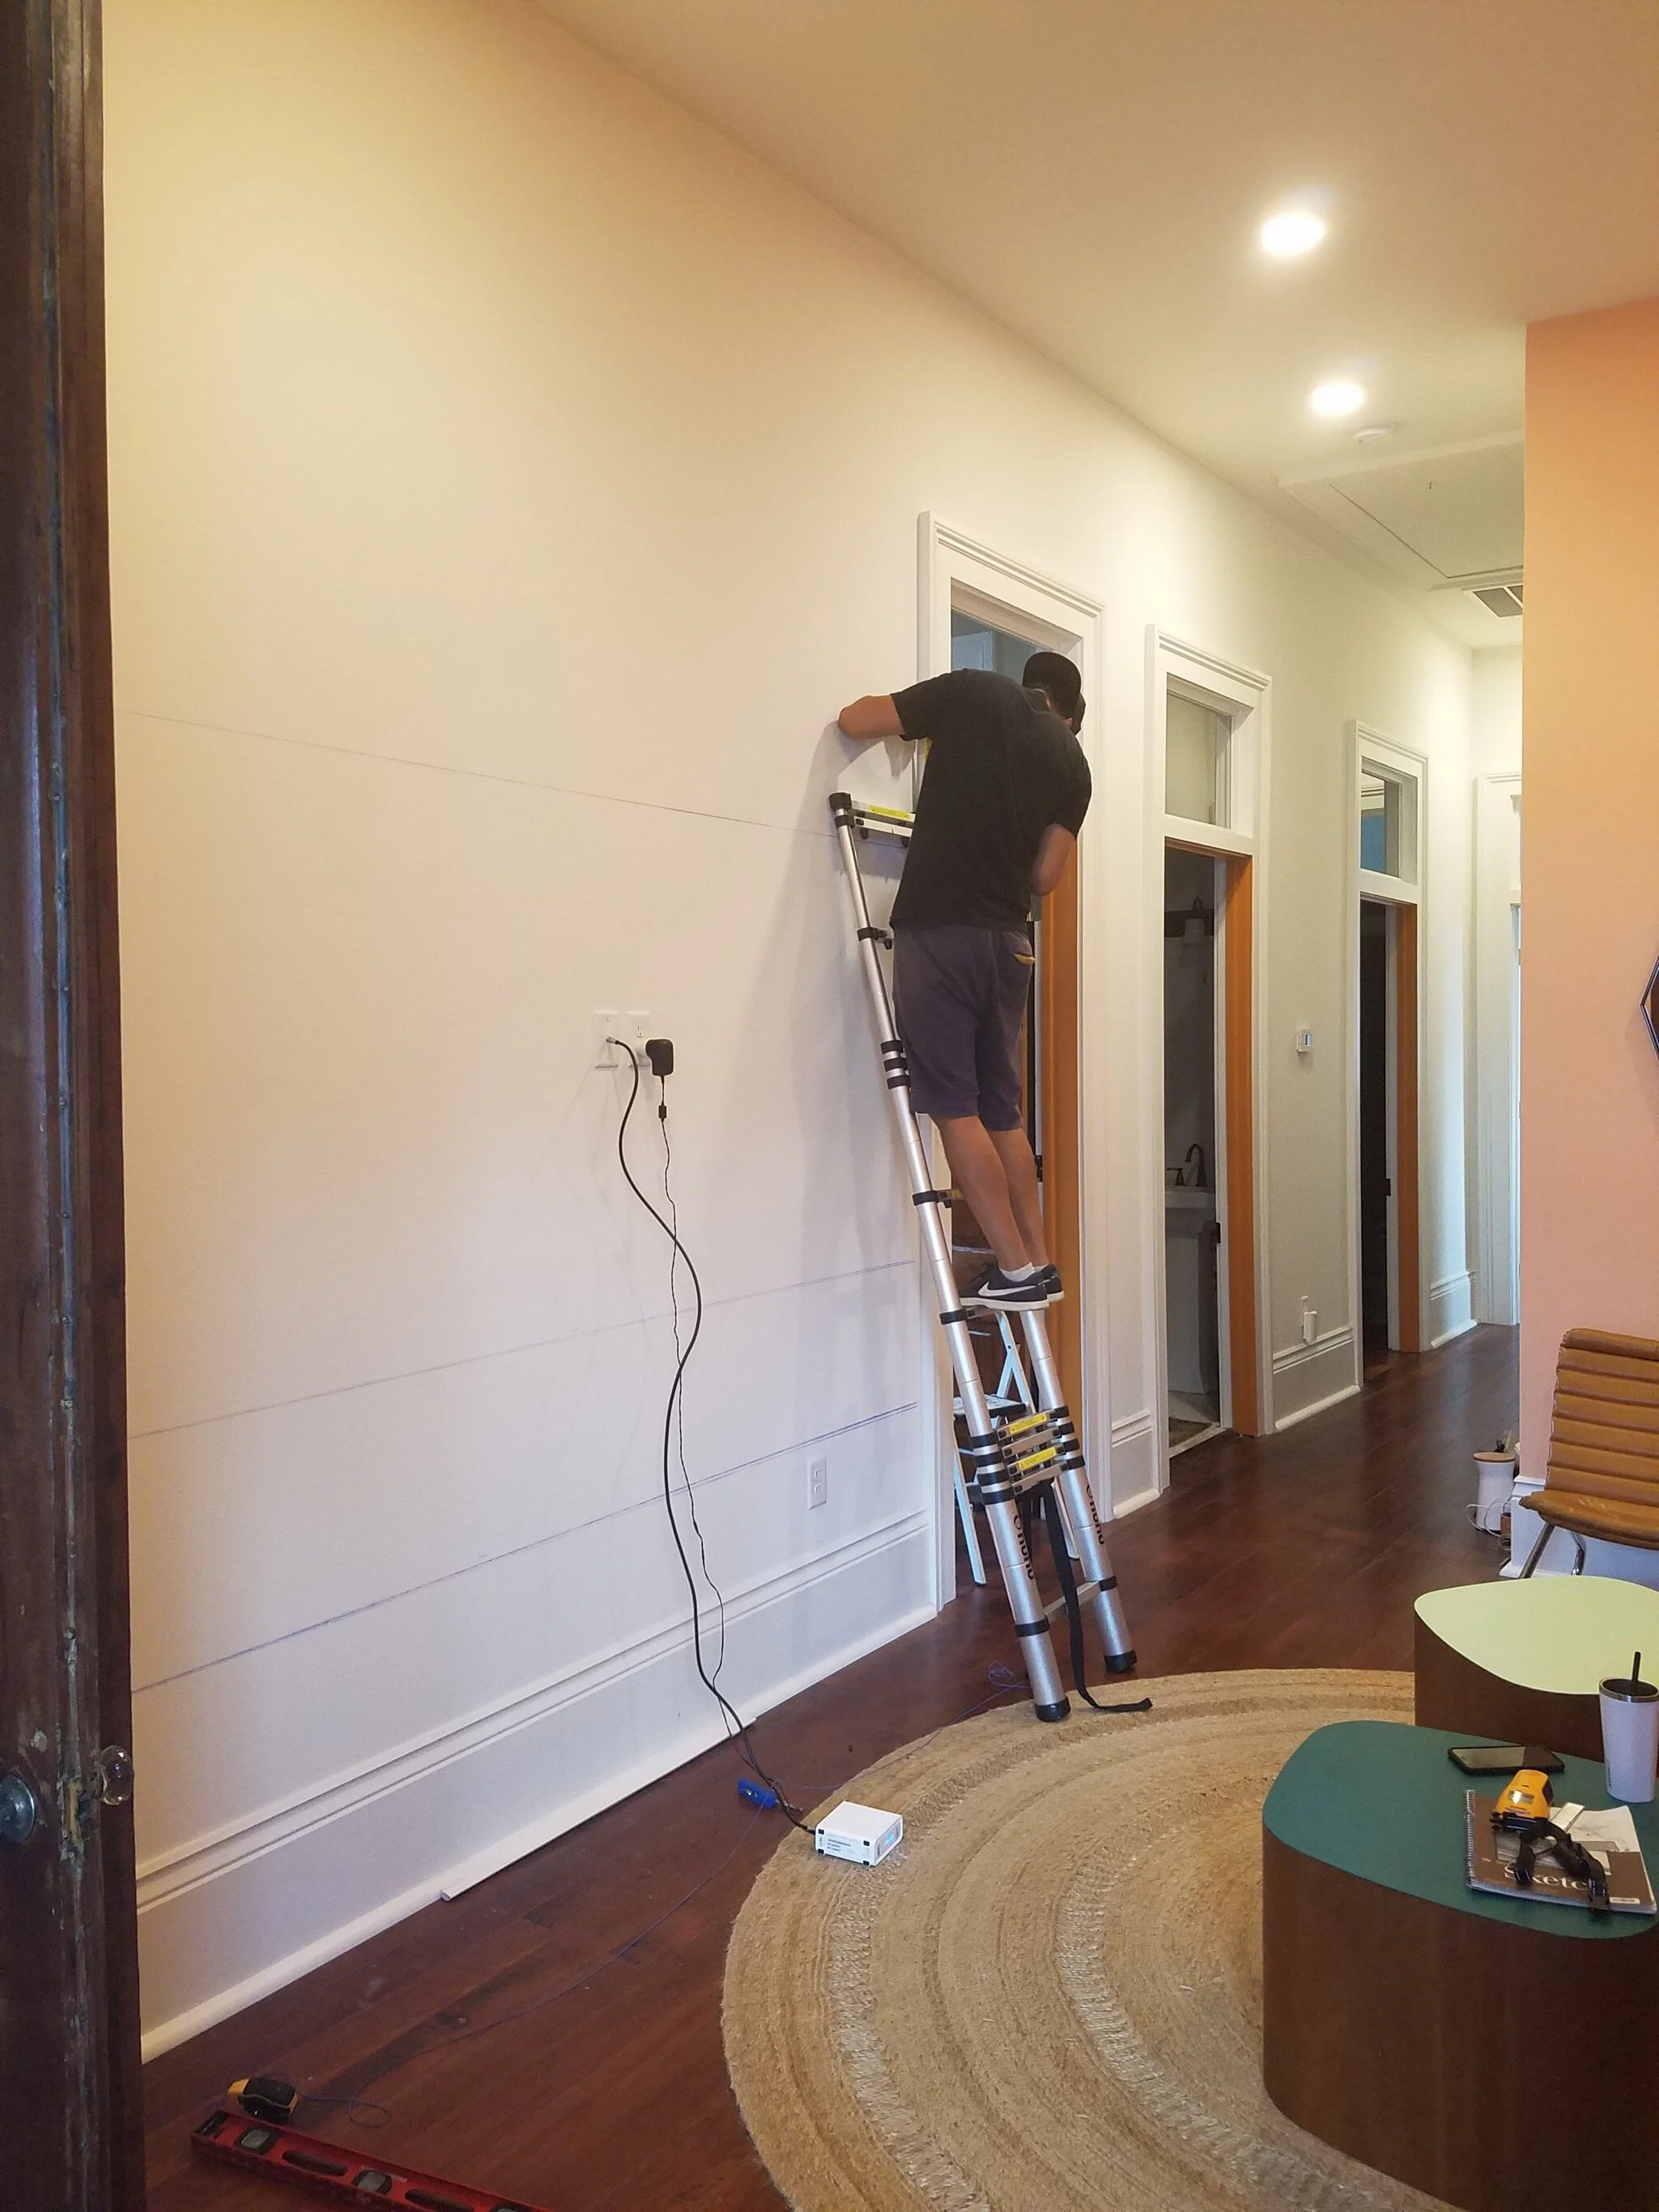
First thing was to find the stud in the wall and mark it out so we would know where to screw the base into the wall. We also marked out a straight line of where each shelf would be on the wall.
We determined that structurally each shelf would need support at about every 10” so we cut another piece of stud into smaller pieces 10” long and attached them to the long piece of stud that would run across the wall and screwed them in from the back side at 10” increments. That whole piece was then screwed into the wall making sure to hit the stud in the wall so it would be very secure and hold a lot of weight.
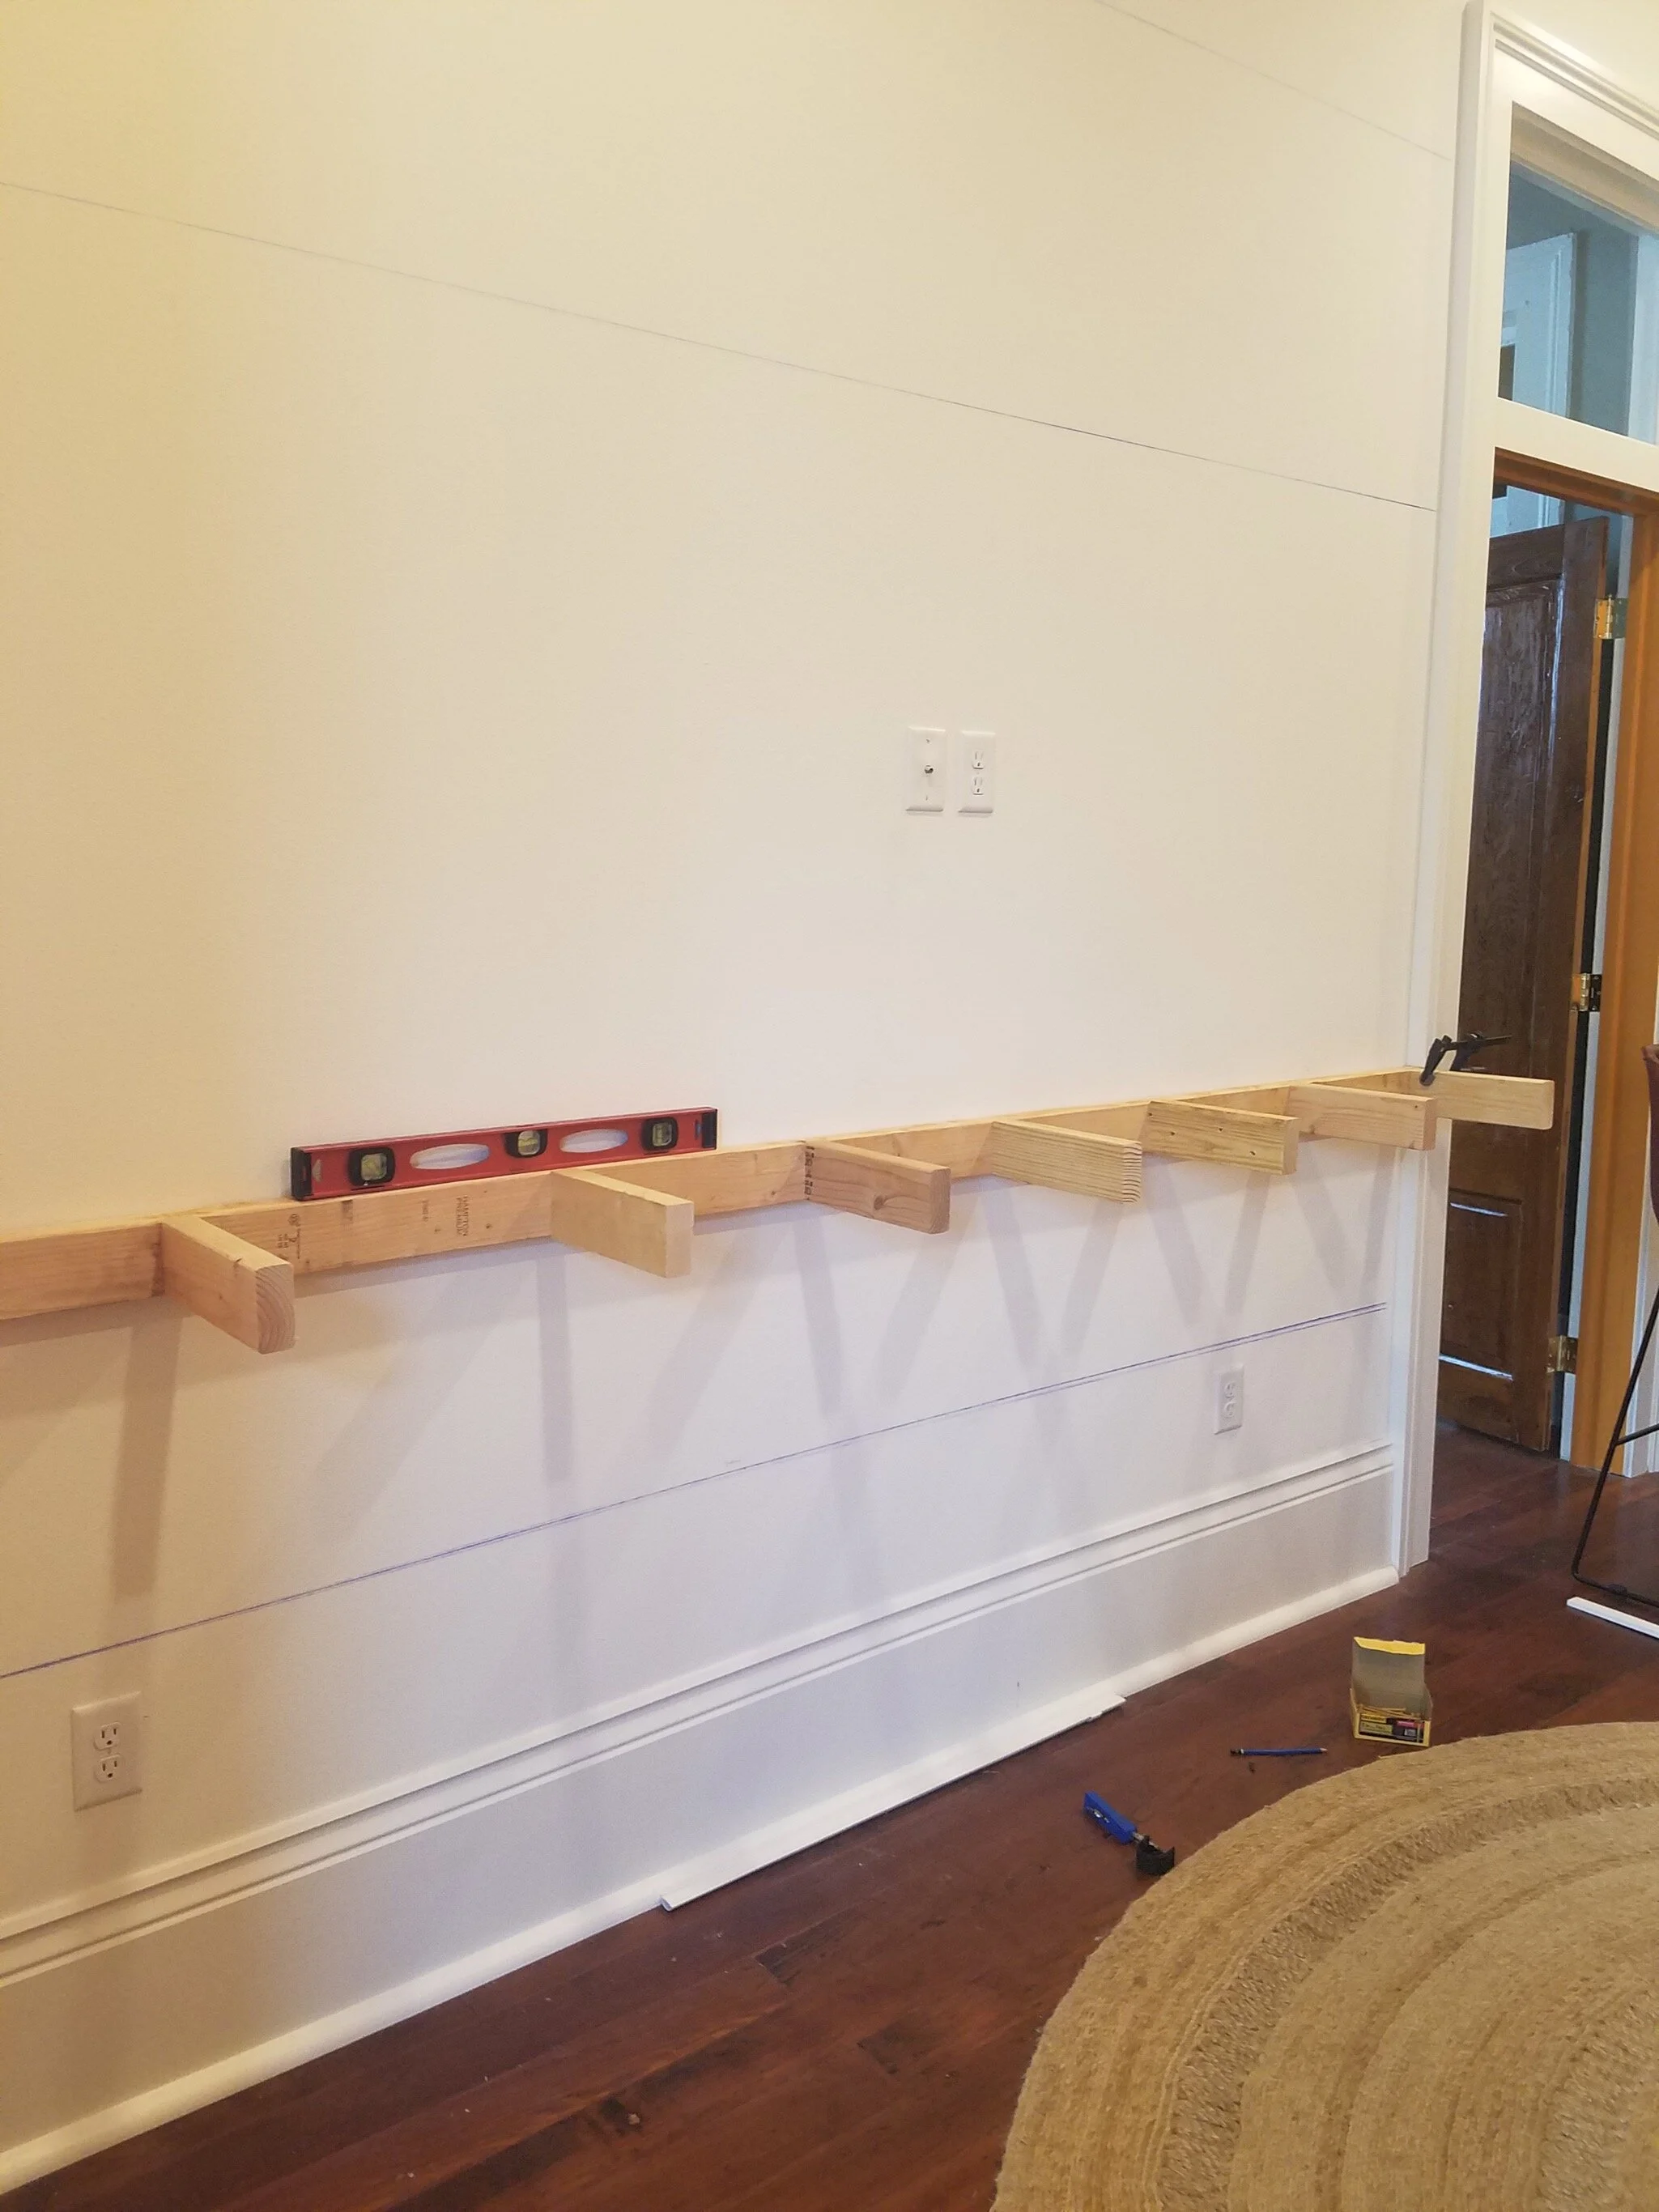
Some of the smaller pieces are further apart to adjust for the stud in the wall.
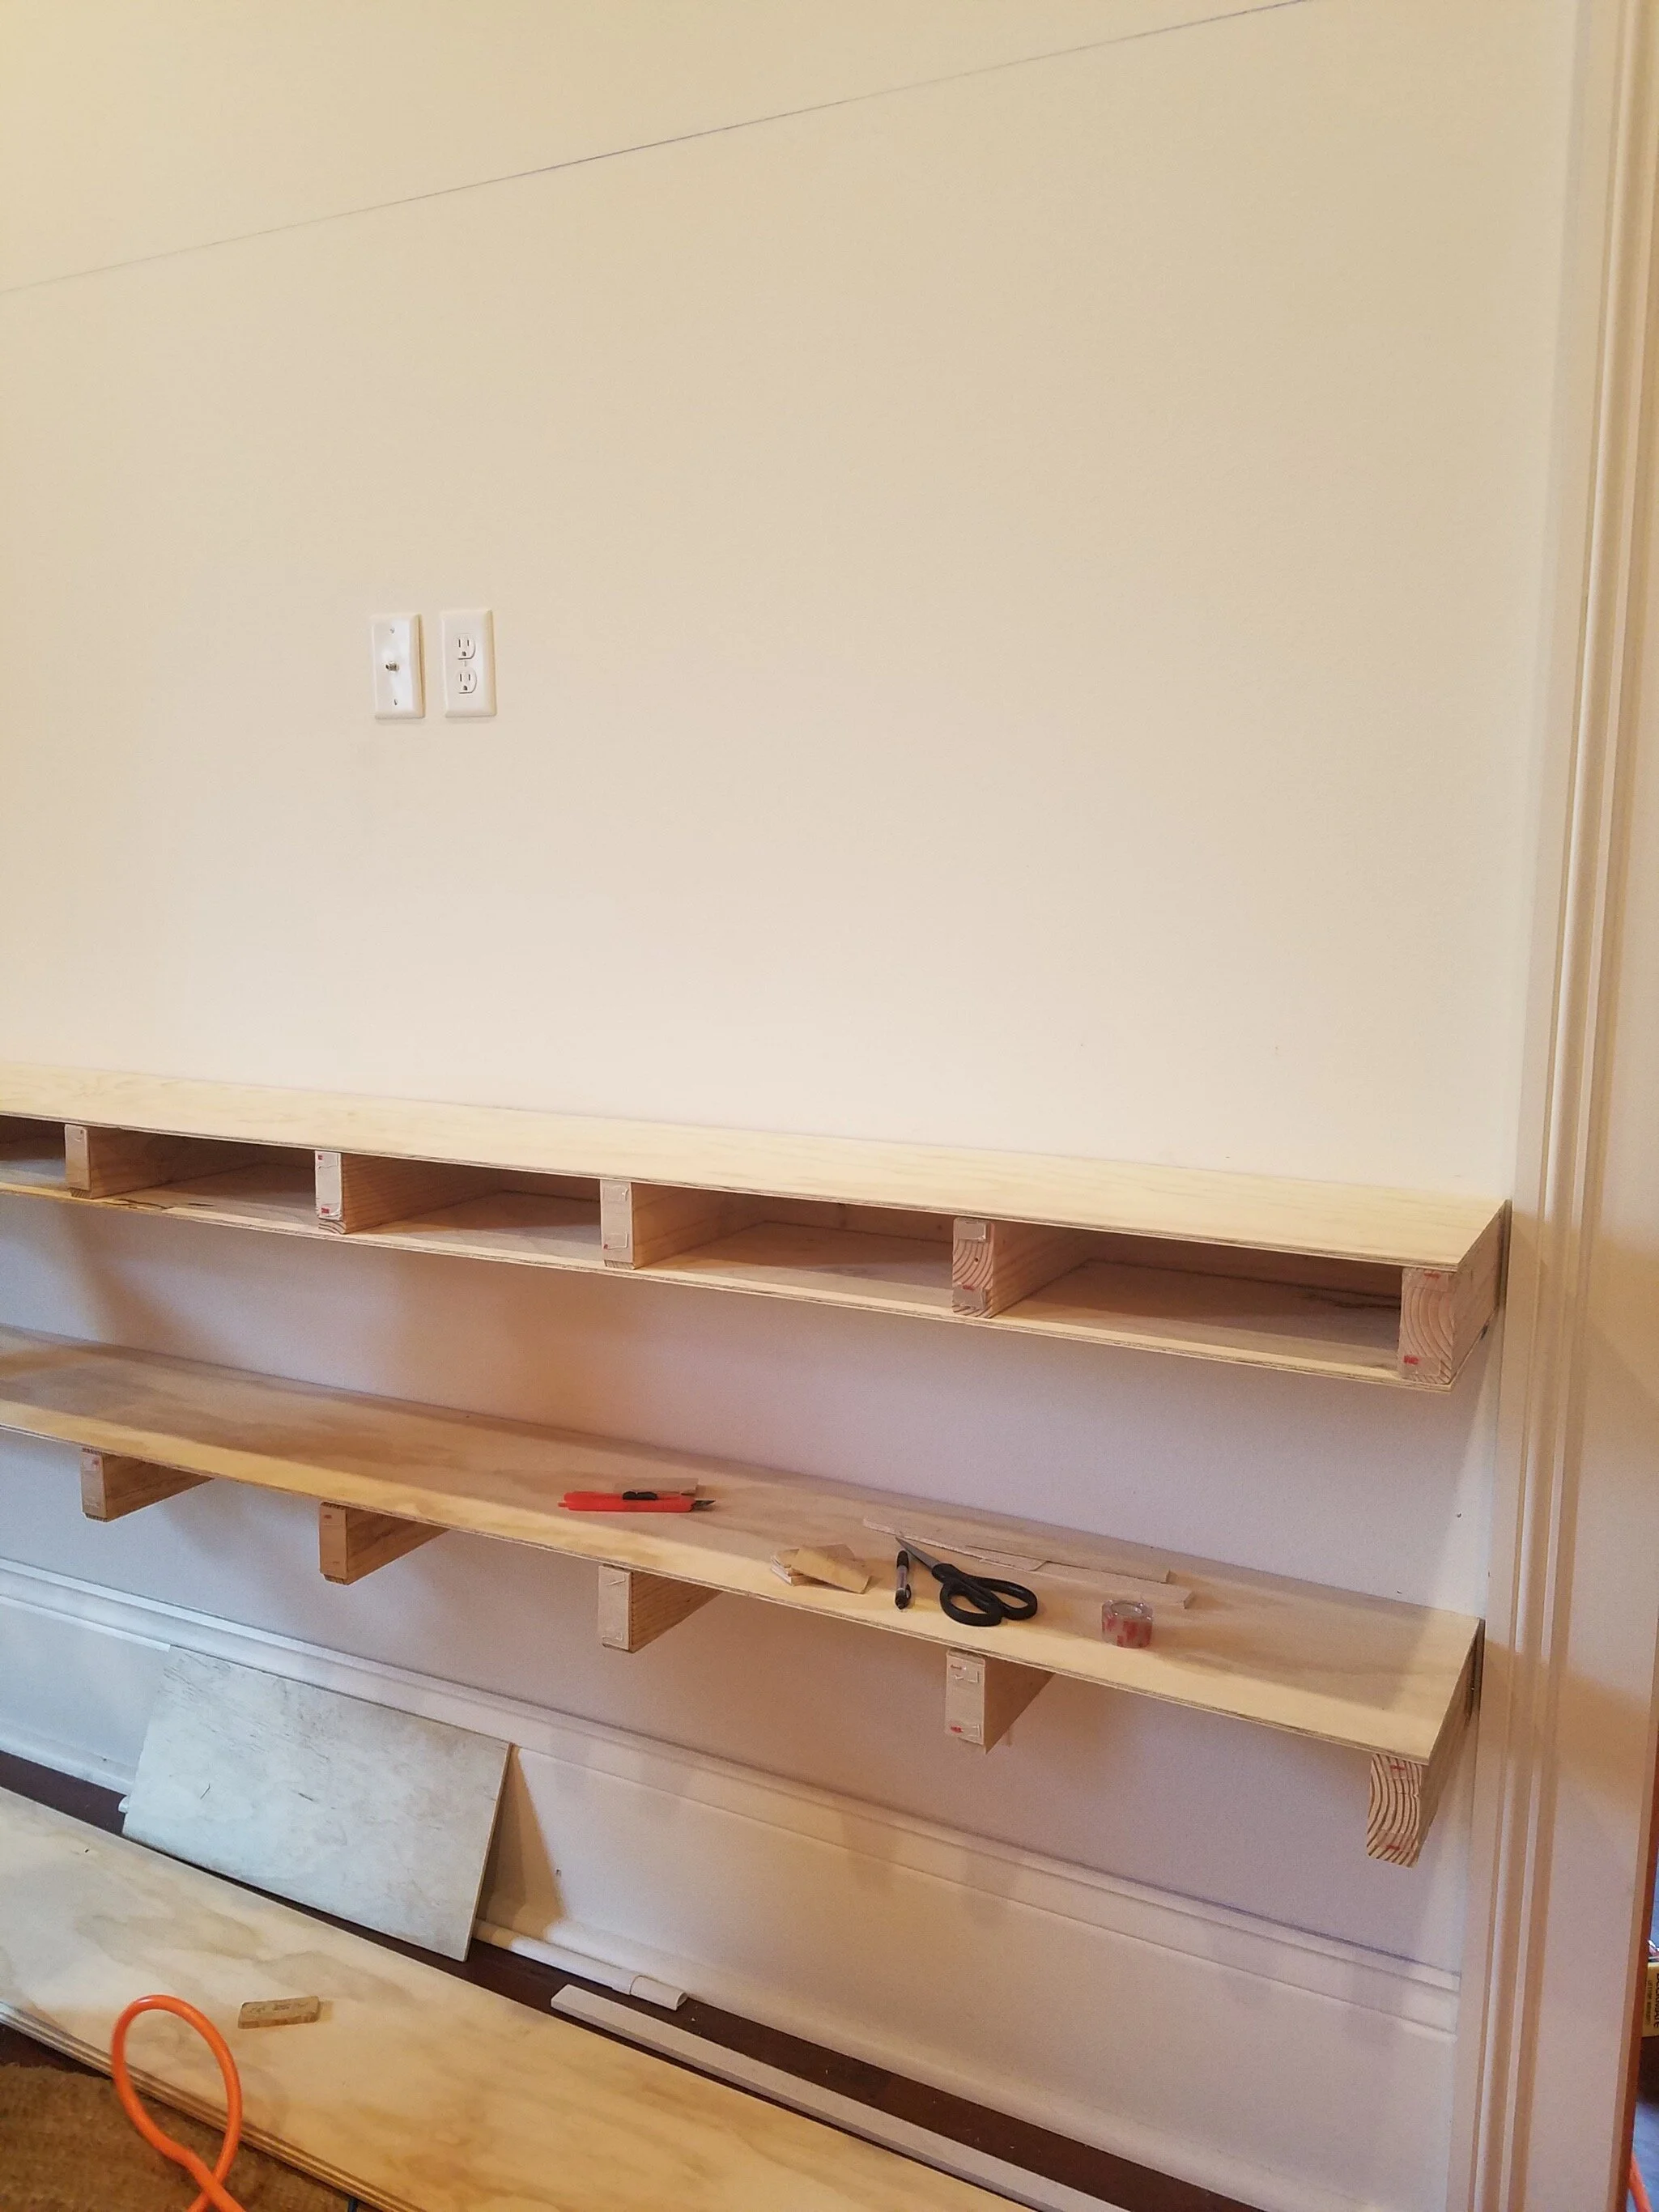
Next the tops and bottoms were attached and then finally the front and side pieces. We used a nail gun and tiny nails that hardly show.
We hit a few snags along the way and had to make some adjustments to make it level and all flush.
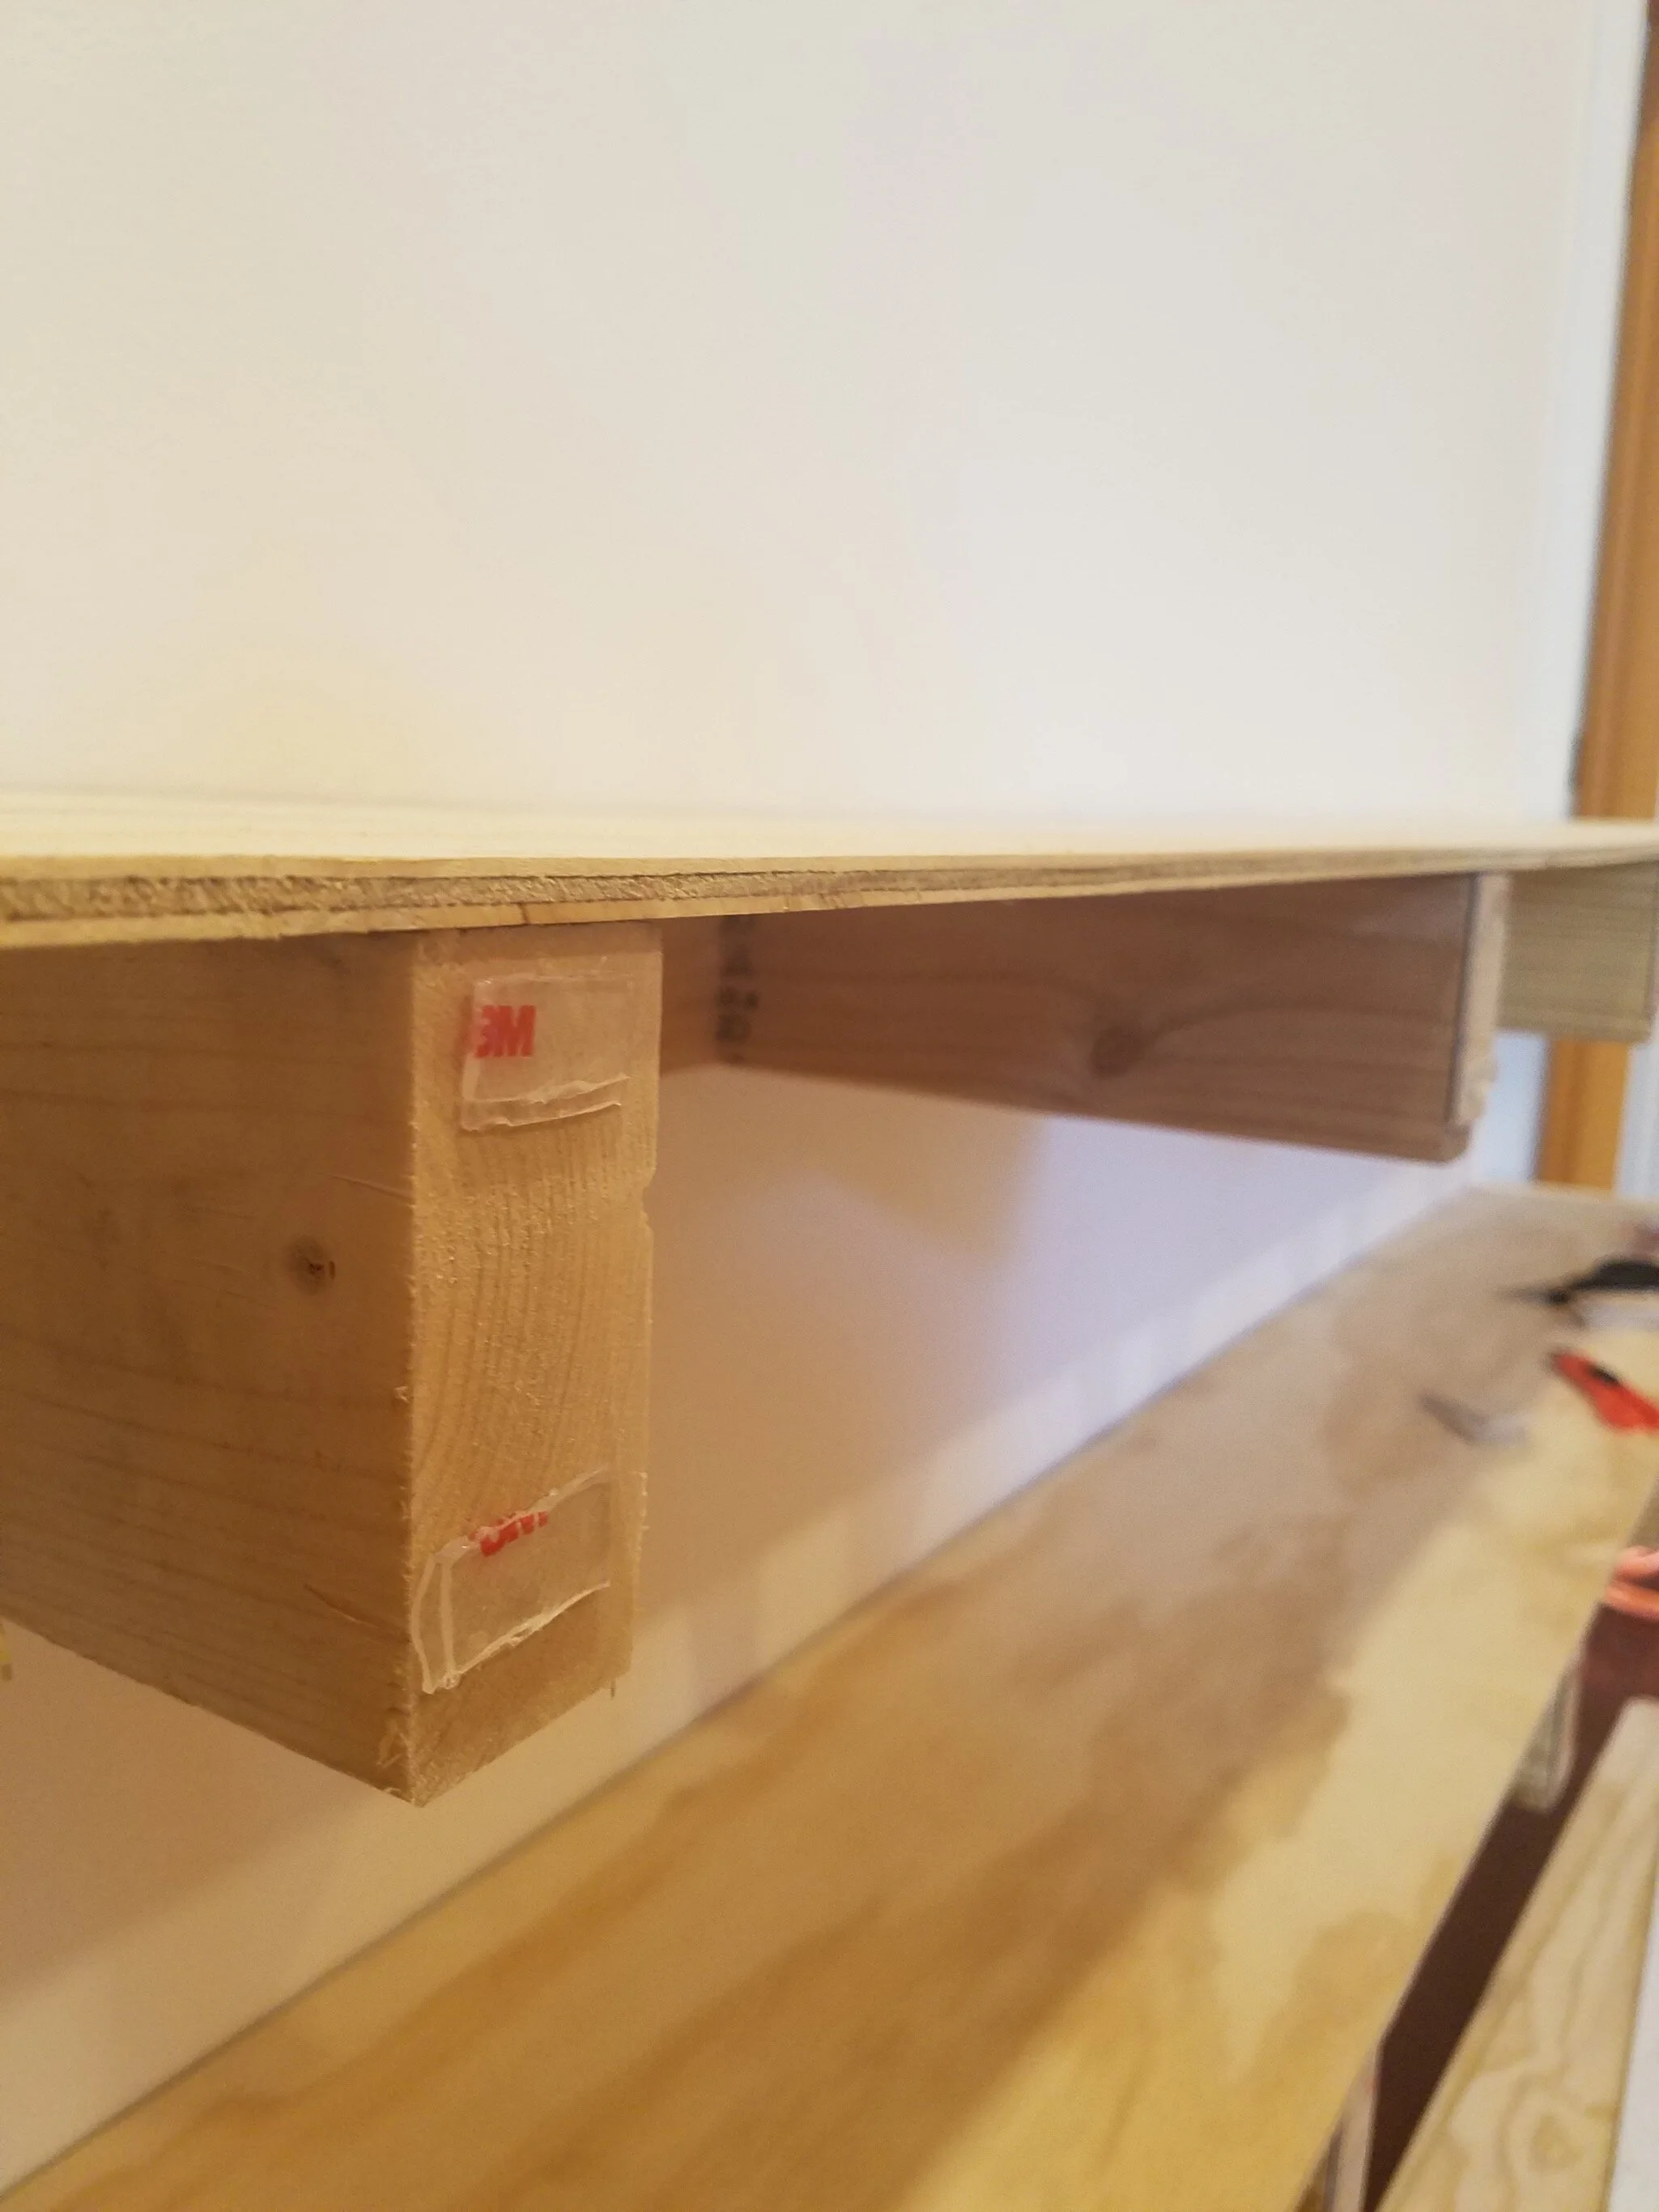
The stud was not flush with the top piece which meant the front wouldn’t meet up nicely so I filled in the gap with some double sided sticky tape. The front was then nailed into the stud.
Because not everything lined up perfectly I used wood filler to close the seams and make it look like one long piece.
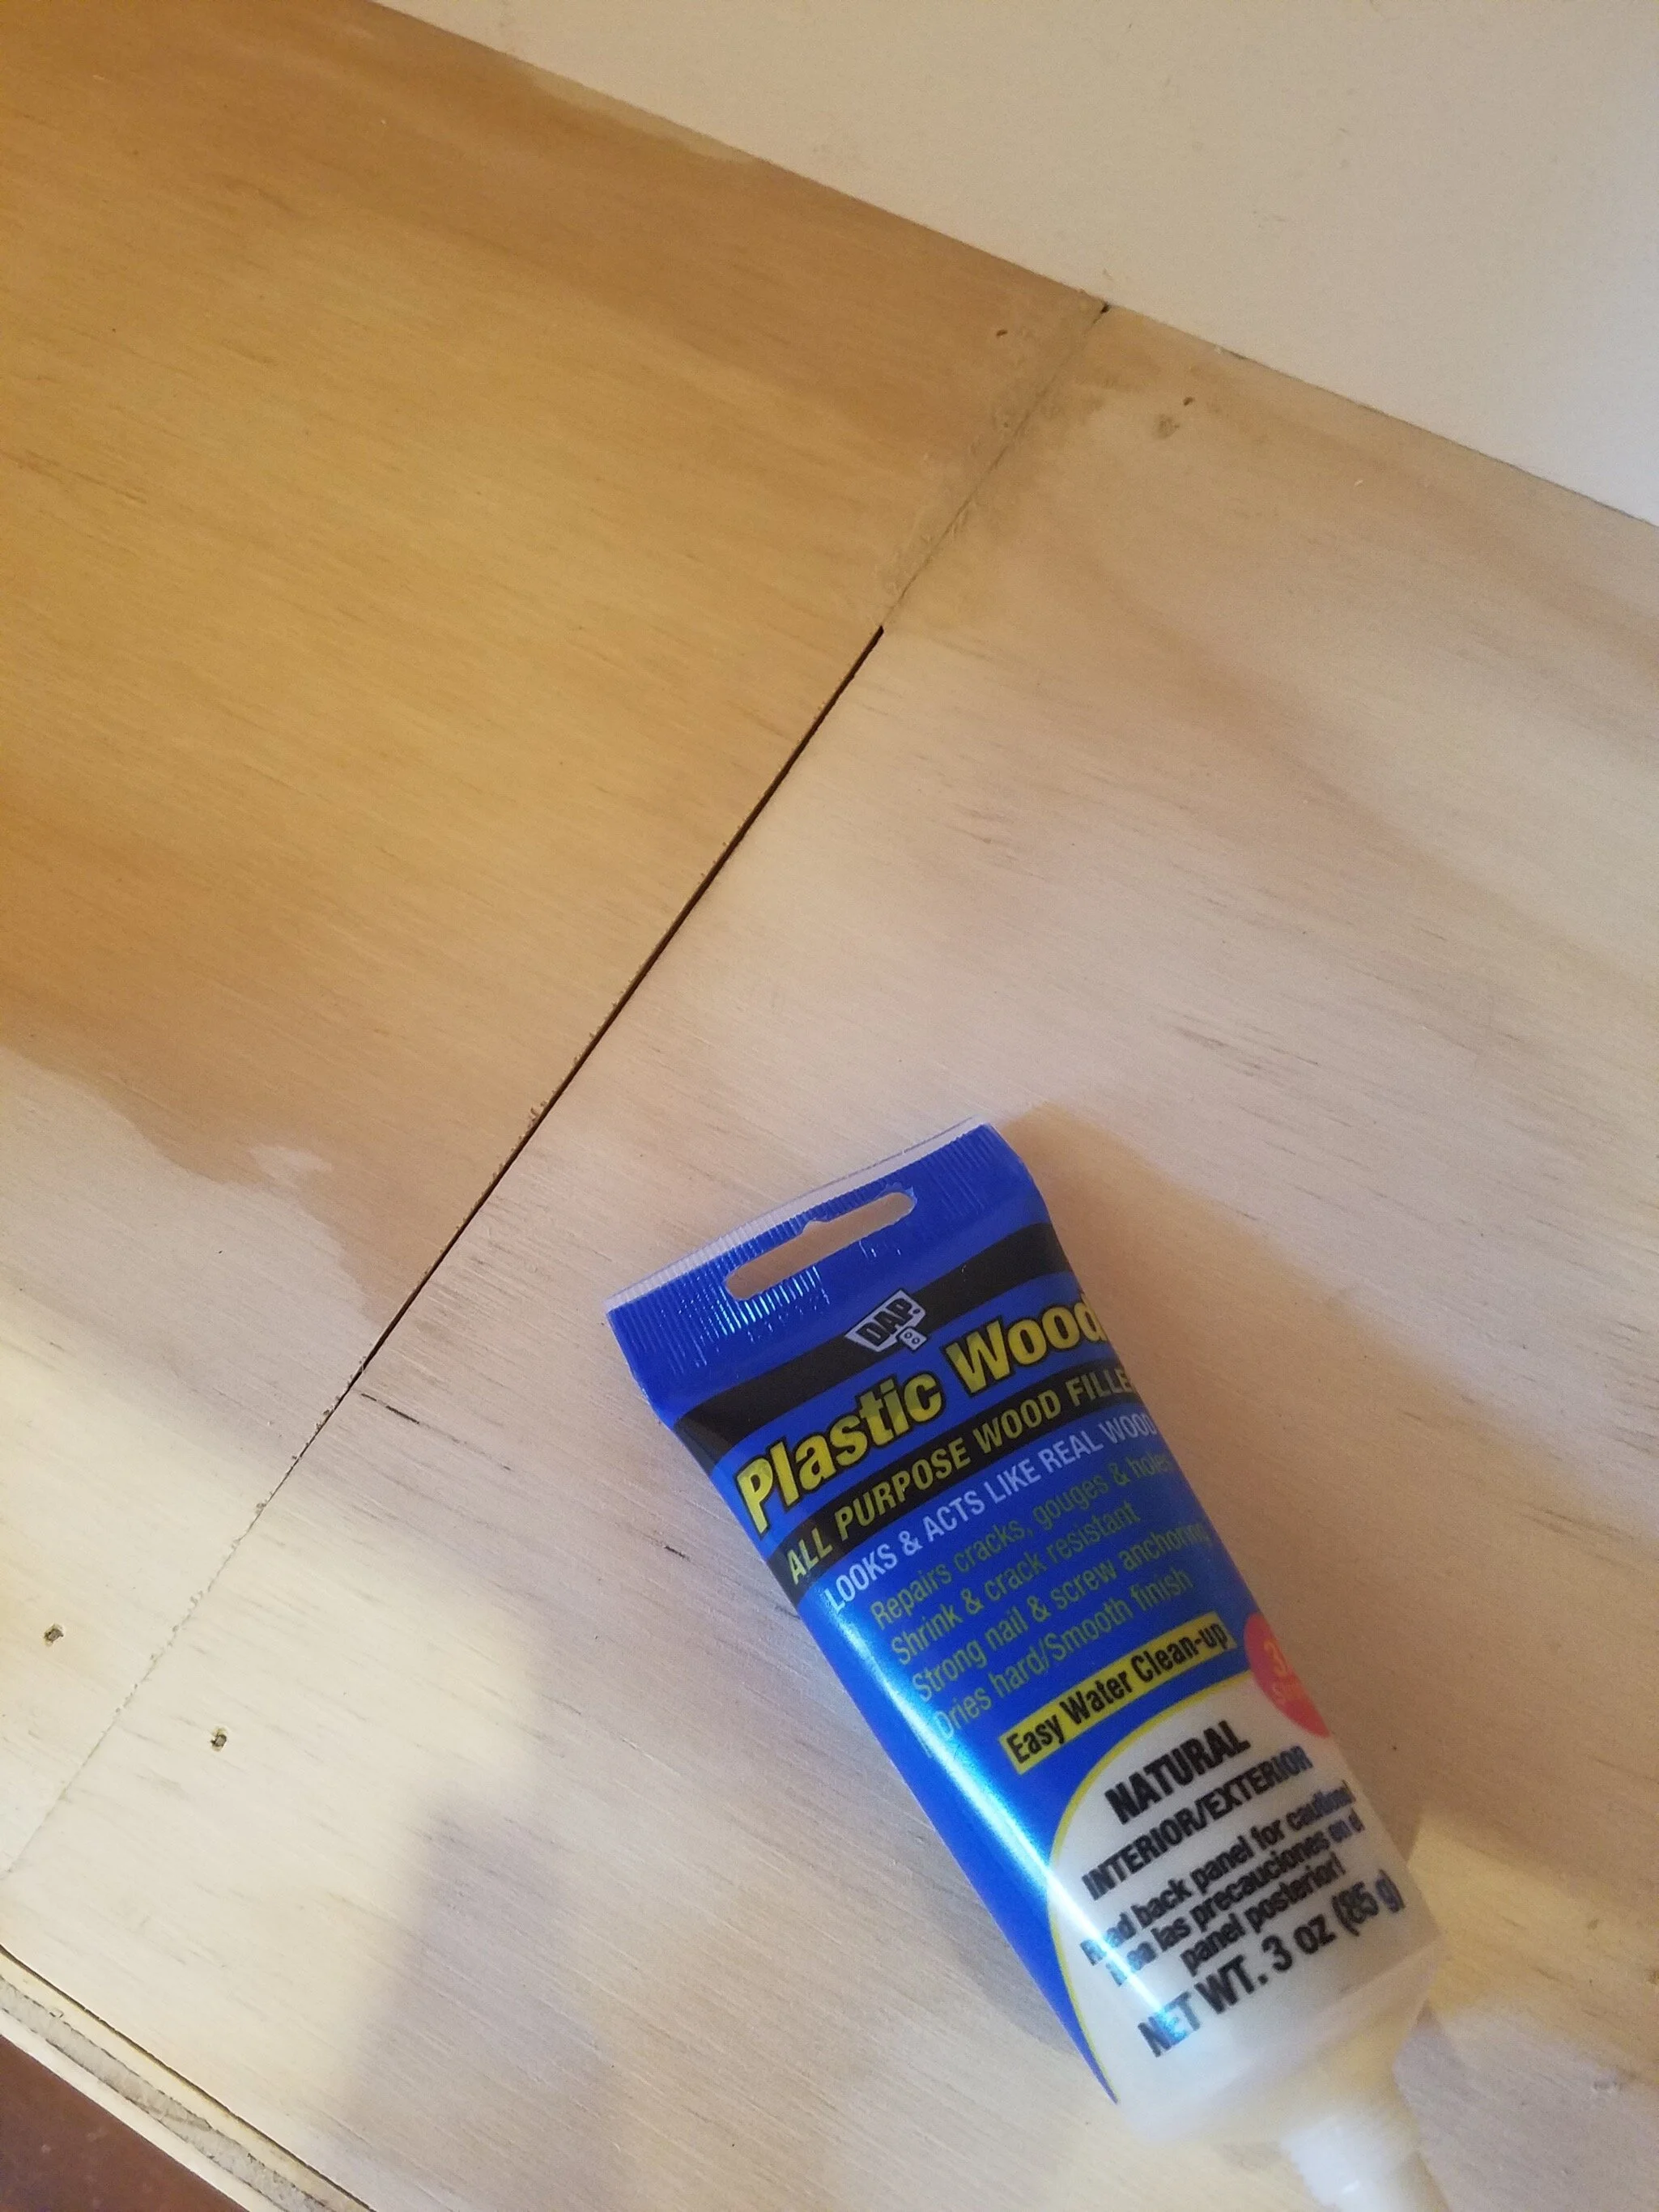
After a layer of the plastic wood is applied and dry sand it down with a fine grit paper to create a smooth finish.
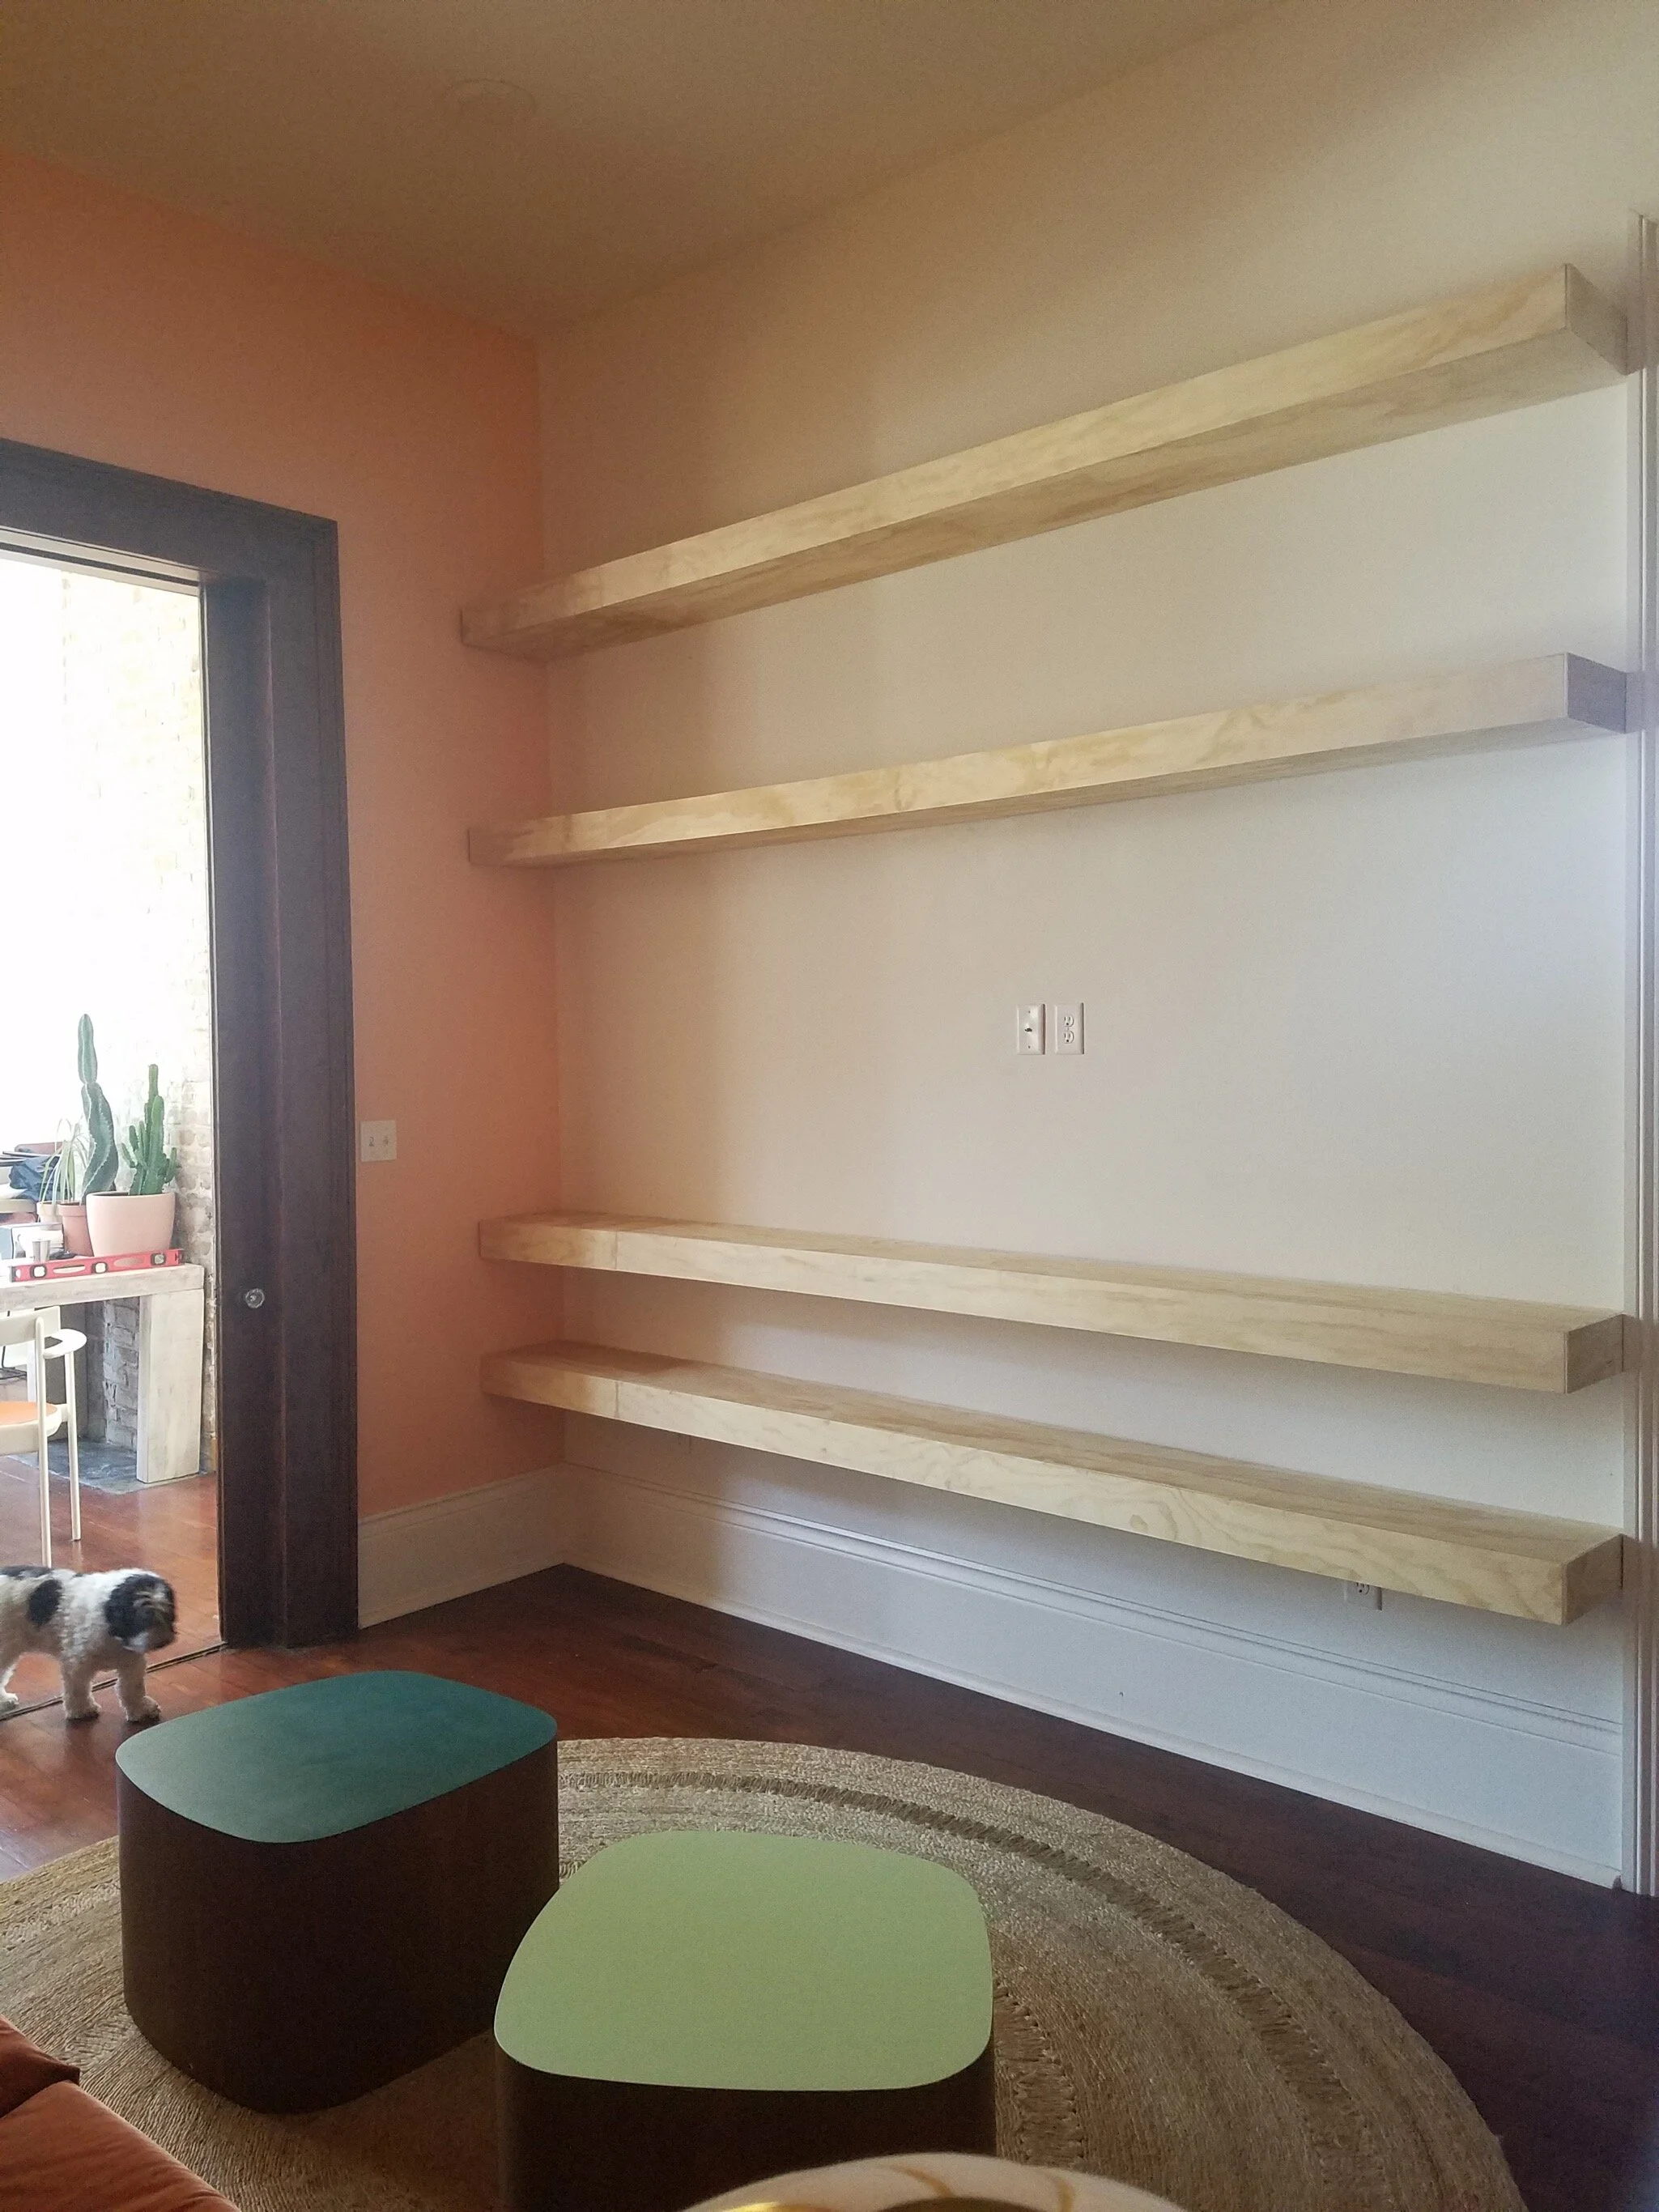
Final result, clean modern shelving.